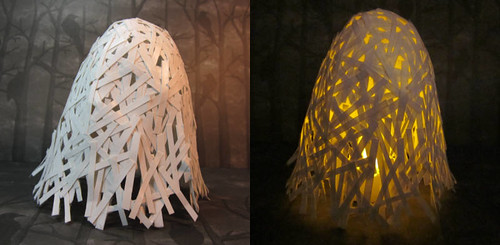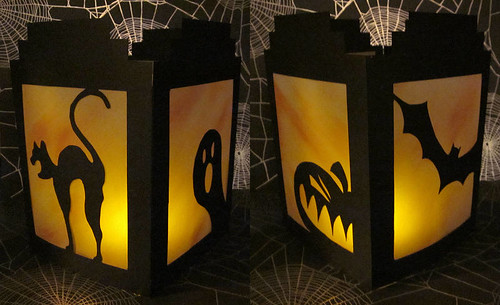
I’ve seen a few paper lanterns about, and they all have one thing in common: they are too complicated for me! When it comes to paper cutting, I must, of necessity, keep it very simple. I had a lot of fun putting together this easy paper lantern. If you like my design, I’ve created a couple templates so you can make your own. You will need:
Two sheets of black card stock.
A sheet of vellum, heavier weight is more cooperative.
Craft blades. I used an X-acto swivel knife and a straight knife.
Ink in orange and red. I used Tim Holtz Distress Inks in Spiced Marmalade and Fired Brick.
A tape runner like Tombow Mono adhesive. Don’t use a wet glue, like Elmers.
Bone folder or other scoring tool.
- Download the templates, lantern1.pdf and lantern2.pdf. I only managed to get score lines on lantern1, but it’s pretty easy to figure out. The templates are full size, the lantern being about 7″ tall when complete.
- Transfer the designs to black card stock and carefully cut out. I used a swivel knife and a straight X-acto. The side of the paper where you’ve traced and cut will be the wrong side.
- Score along the seam between the design panels on the wrong side of the paper, and along the attachment tabs (those big white lines on the first template).
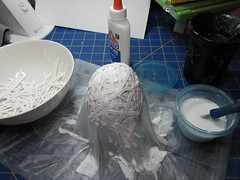
- Use a cotton ball to apply streaks of ink (don’t use paint–too wet!) to your sheet of vellum.
- Cut the vellum into four pieces by cutting once crosswise and once lengthwise.
- Apply tape runner to the inner corners of the wrong side of the cat panel. Put tape runner on some of the edges of the design, like the tail, and a few of the straight sides of the frame. Don’t run the tape all the way around, or the vellum may buckle.
- Lay the vellum down ink-side-in so it covers the frame. Repeat for the other frames.
- Give all score lines a preliminary fold toward the wrong side of the lantern. Lay the folds flat again for the moment.
- Apply tape runner along the outside edge of the wrong side of the cat frame. Carefully glue the tab on the ghost frame on top of it, lining the inside of the tab up with the outer edge of the cat frame.
- Apply tape runner along the outside edge of the wrong side of the pumpkin frame. Fold on all the scores (without gluing down that tab!) and stand the lantern. Glue the bat tab to the inside of the pumpkin frame.
- Done!
And now, links:
- If you have standard lamp shades, this simple idea from Martha Stewart is a classic must-do.
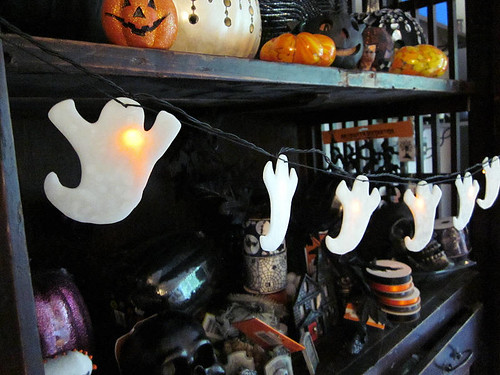
- What Will We Do Today shares very easy eyeball lights. Great project for munchkins.
- Babble has 15 cute candy-corn projects.
- Macula has free paper monster templates–these look amazing!
- More candy corn! This time its sparkling candy-corn cookies from Land O Lakes.
And here’s a darling little stop-motion animation to get you in a festive mood: